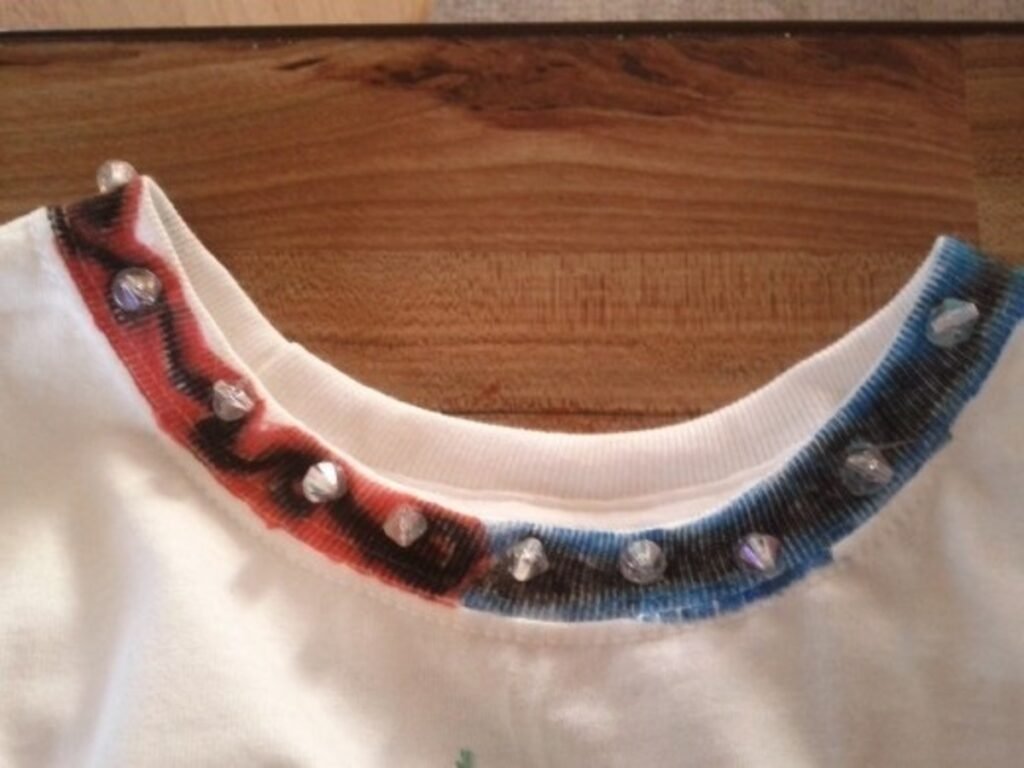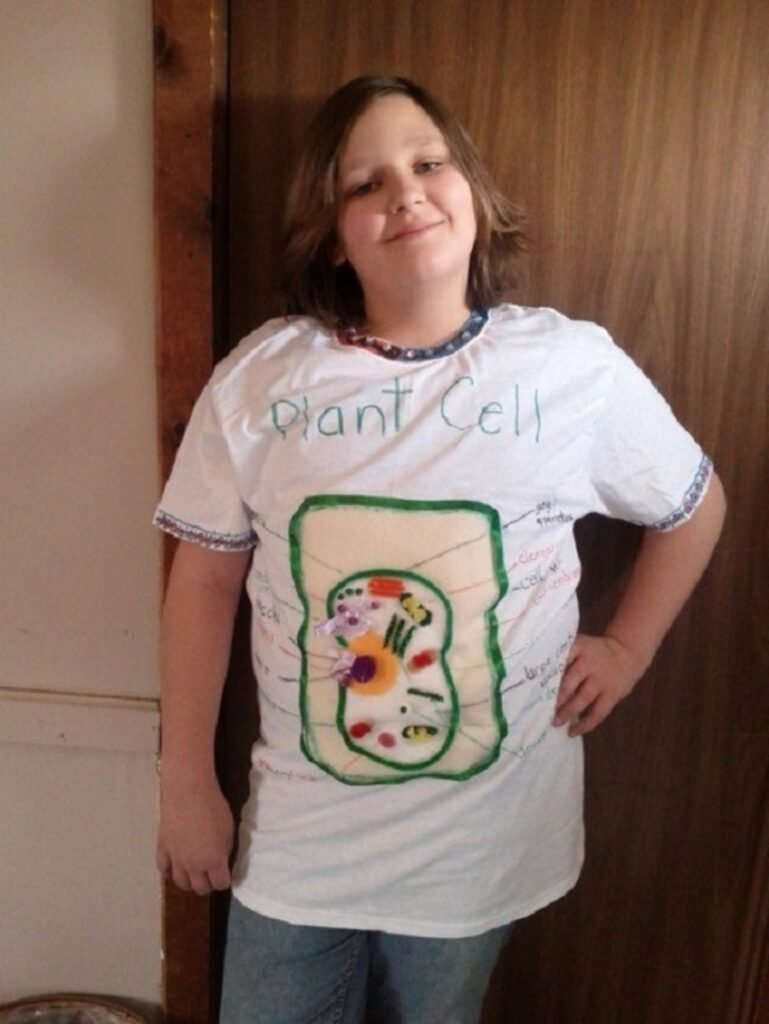
This t-shirt plant cell project is a fun way for your child to learn about science—and get creative in the process! | Source
Making a Plant Cell Model
If you have an older elementary or middle-school student, or will have someday, you will probably find yourself helping her create a plant or animal cell model project. And if you visit the science fair, you will be amazed at the creative ways kids come up with to make the cell models.
Styrofoam, empty toilet paper rolls, old batteries, clay, and other items are used to represent the cell wall, cell membrane, and all the organelles in the cell.
Then there are the edible ones, like animal- and plant-cell cakes or Jell-O ones with candies representing the various parts of the cell.
A Science Project You Can Wear
But how about a plant cell model you can wear? That’s the idea we came up with for our plant cell model. Start with a plain white T-shirt. You will need fabric markers for labeling and fabric glue for gluing.
Check your craft box inventory for items such as felt, bows, buttons, pom-poms, and chenille stems for your plant cell organelles.
Below is a chart listing what we used for each part of our plant cell model.
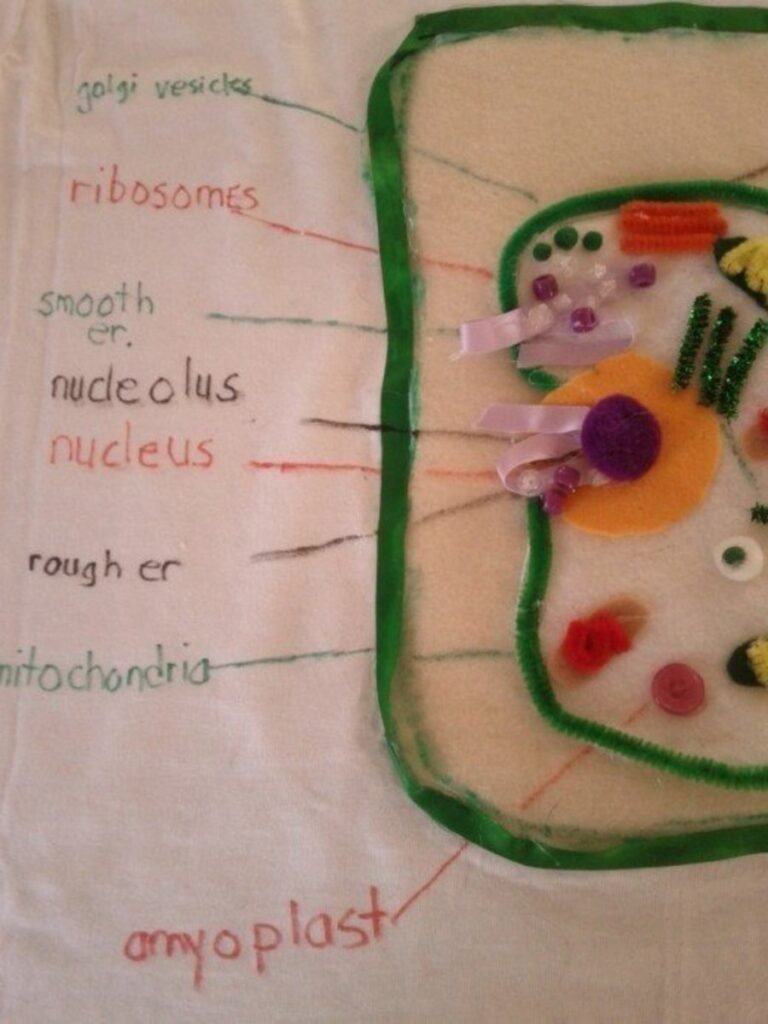
Materials Used for Cell Parts
| Cell Part | Material Used |
| cytoplasm | light green felt |
| cell wall | green ribbon |
| cell membrane | green fabric marker |
| large central vacuole | white craft felt |
| vacuole membrane | green chenille stem |
| nucleus | yellow felt circle |
| nucleolus | medium purple pom-pom |
| smooth endoplasmic reticulum | narrow purple ribbon |
| rough endoplasmic reticulum | purple plastic beads |
| mitochondria | tan felt oval/yellow chenille stem |
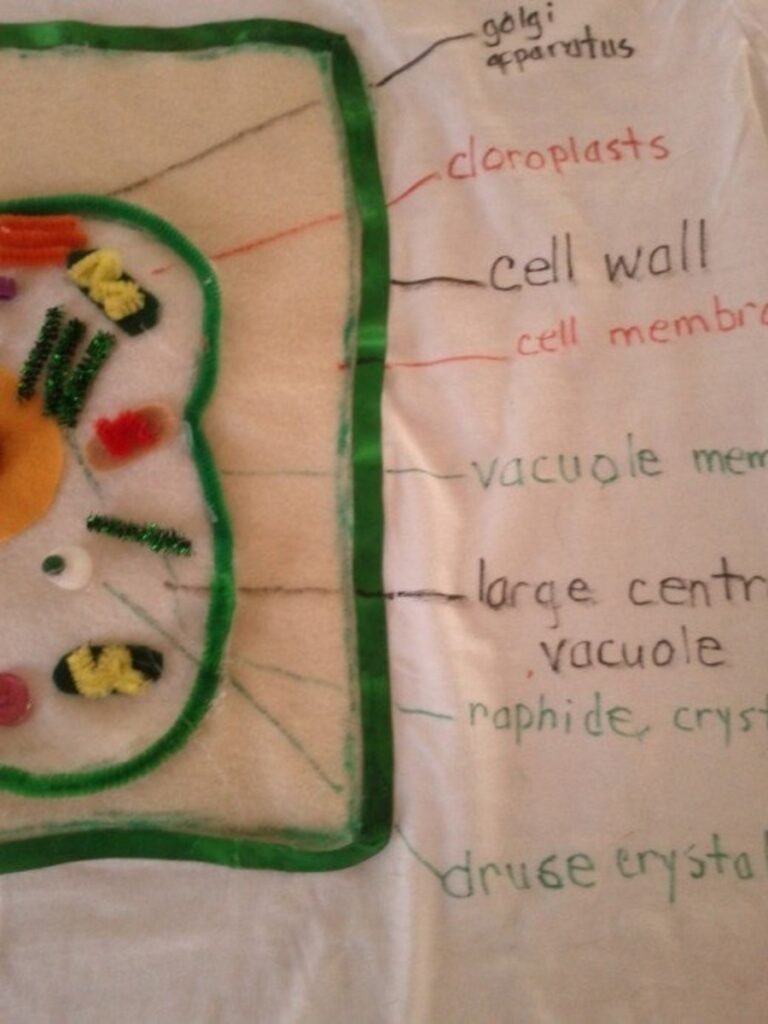
| chloroplasts | green felt oval/yellow chenille stem |
| druse crystal | small white pom-pom/miniature green pom-pom |
| golgi apparatus | pieces of orange chenille stem |
| Golgi vesicles | miniature green pom-poms |
| ribosomes | clear plastic beads |
| raphide crystal | pieces of sparkly green chenille stem |
| amoplast | purple button |
You can substitute items from your own craft box.
Tip
Place light cardboard or newspaper inside the t-shirt to keep the front and back from sticking together.
Photo Guide
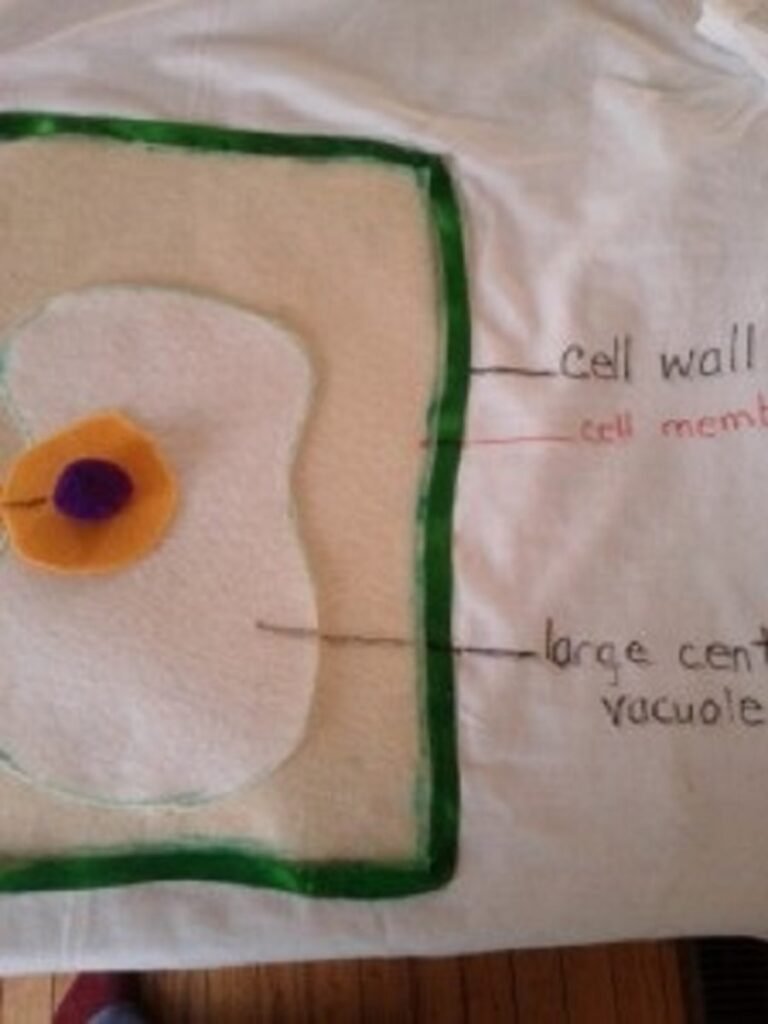
Begin by making a pattern for the cell and the large central vacuole. Trace and cut these out of craft felt.
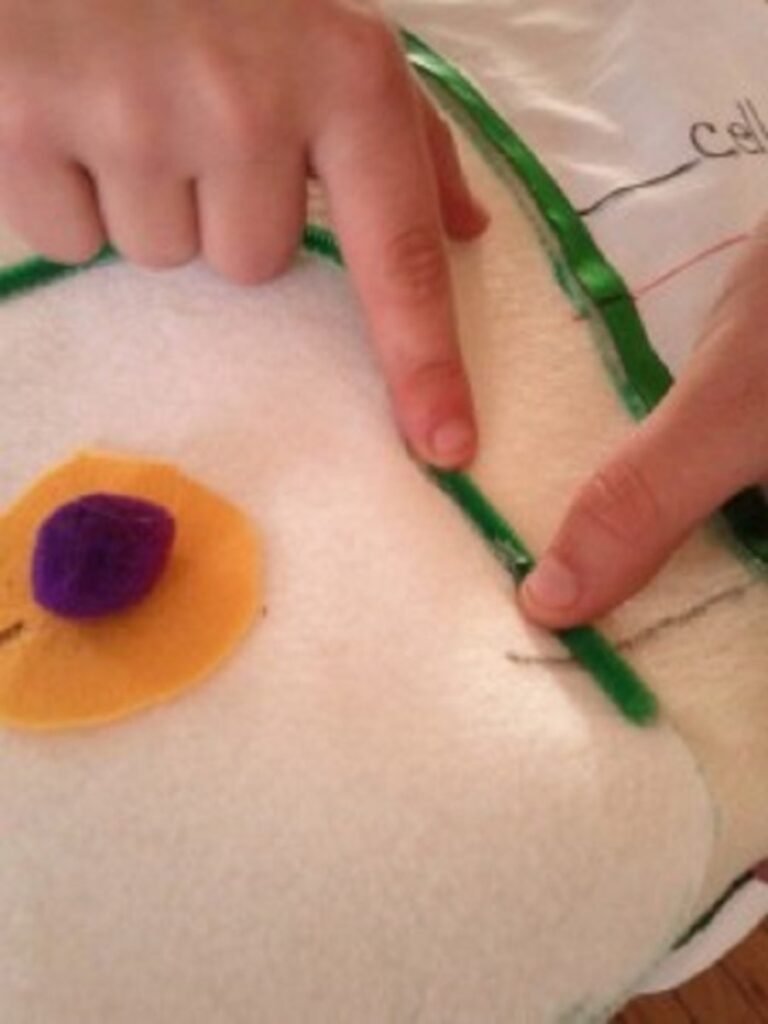
Attach the cell and central vacuole to the front of the T-shirt using fabric glue
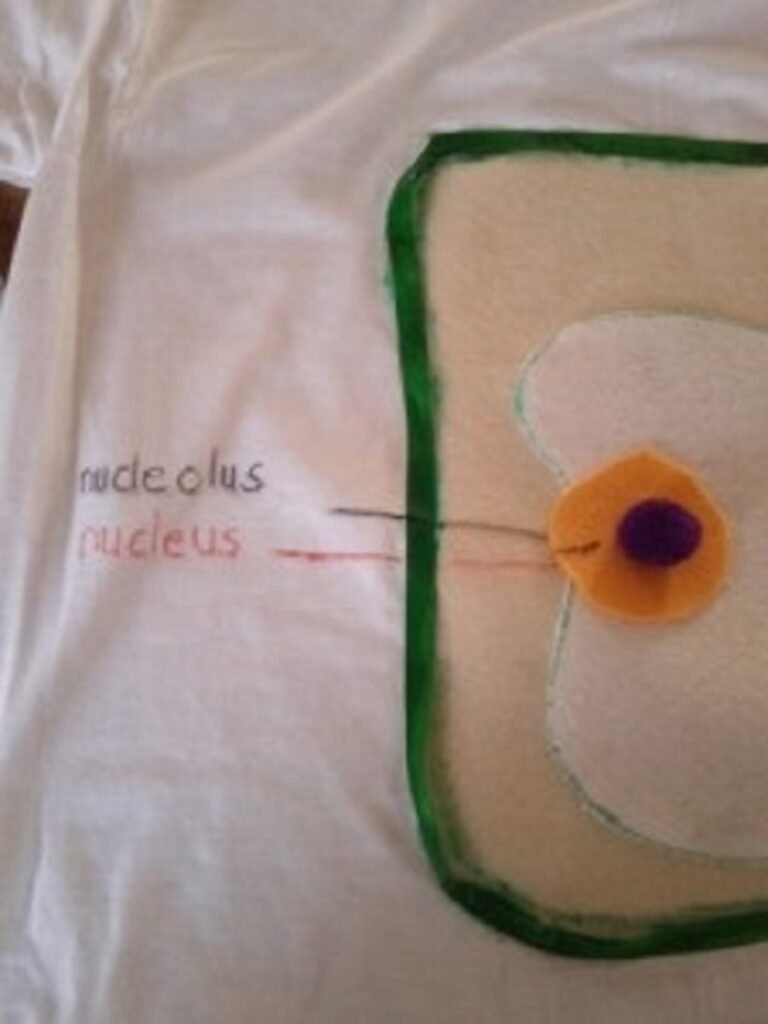
Attach the nucleus and nucleolus and label with fabric markers.
Attach and label the vacuole membrane, Golgi vesicles, ribosomes, smooth and rough ER, mitochondria, and amyloplast.
Attach and label the Golgi apparatus, chloroplasts, vacuole membrane, raphide crystal, and druse crystal.
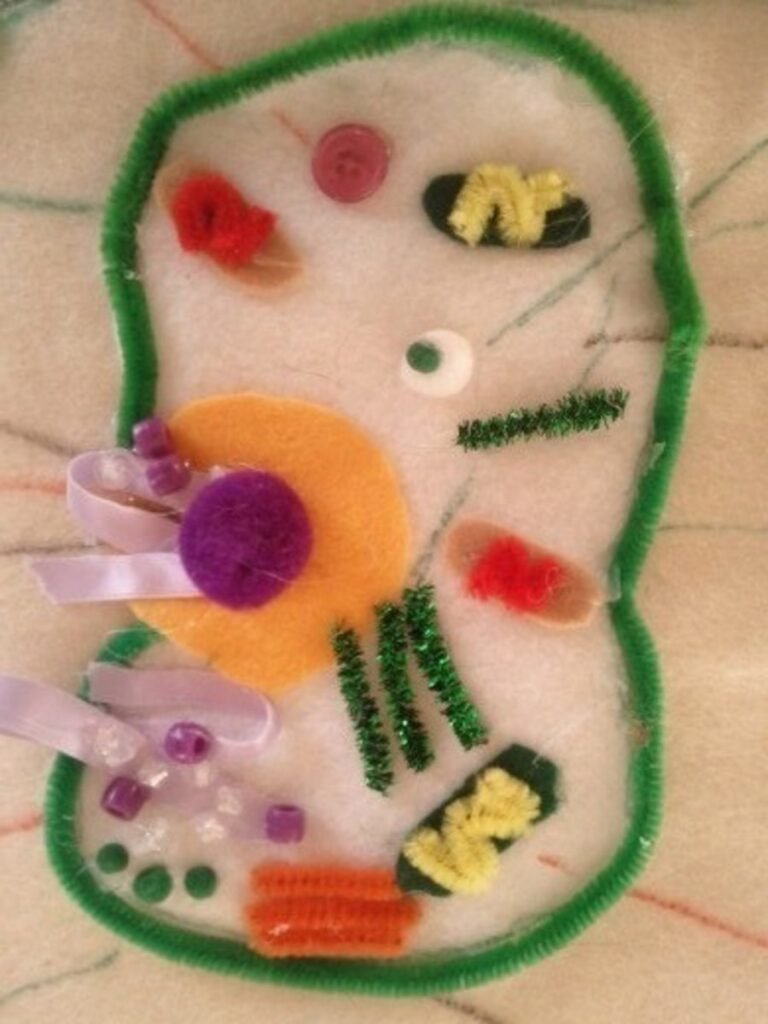
Completed large central vacuole
If desired, embellish the collar and sleeve edges with fabric markers and beads.